Alexa (Optional)
Once cloud side configurations for Alexa skill are done, you can go on to do configurations on Alexa developer console.
Integrating the Alexa Smart Home Skill with RainMaker
Configuring the Alexa Developer Console
- Login to Alexa Developer console.
- Select the skill created in the section Create an Alexa Smart Home Skill.
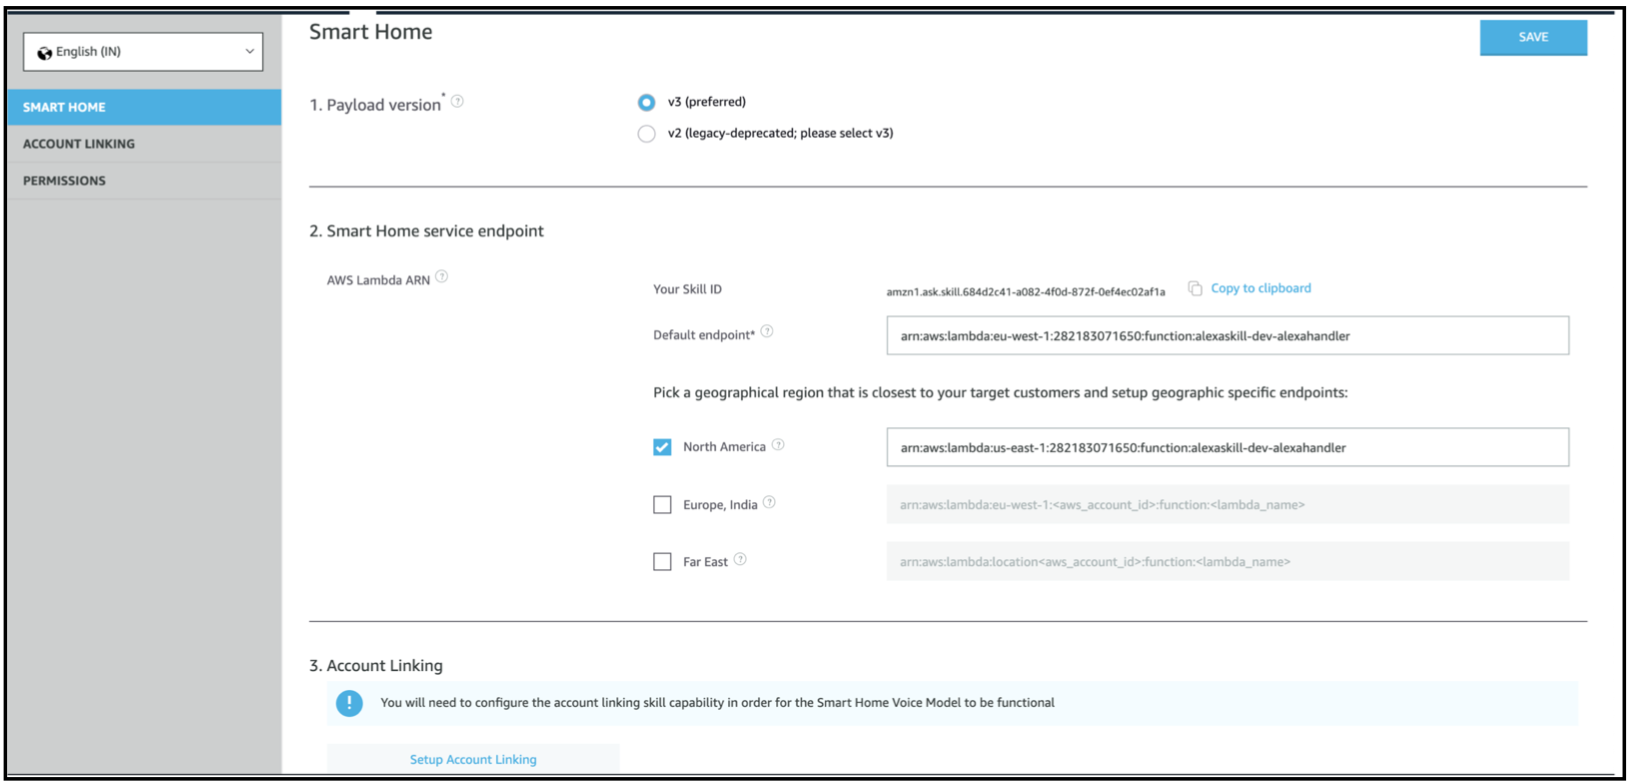
Smart Home
Click on Smart Home in the left nav-bar.
In Smart Home service endpoint section, add the ARNs of the lambda
esp-RM-alexaSmarthomenoted in the section Getting the Lambda ARNs for the deployed Alexa Skill.- Select all three check boxes for all three regions.
- For North America, add the ARN of the lambda present in us-east-1 AWS region.
- For Europe, India, add the ARN of the lambda present in eu-west-1 AWS region.
- For Far East, add the ARN of the lambda present in us-west-1 region.
Copy the value from the North America endpoint into the Default endpoint and hit Save.
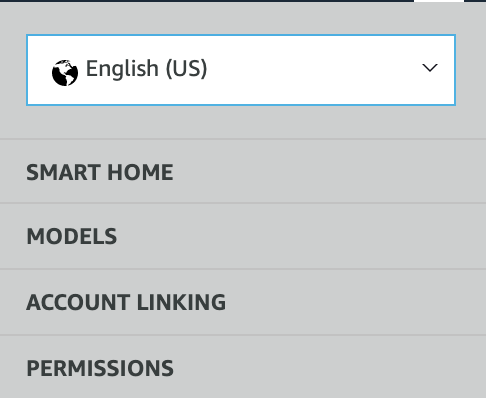
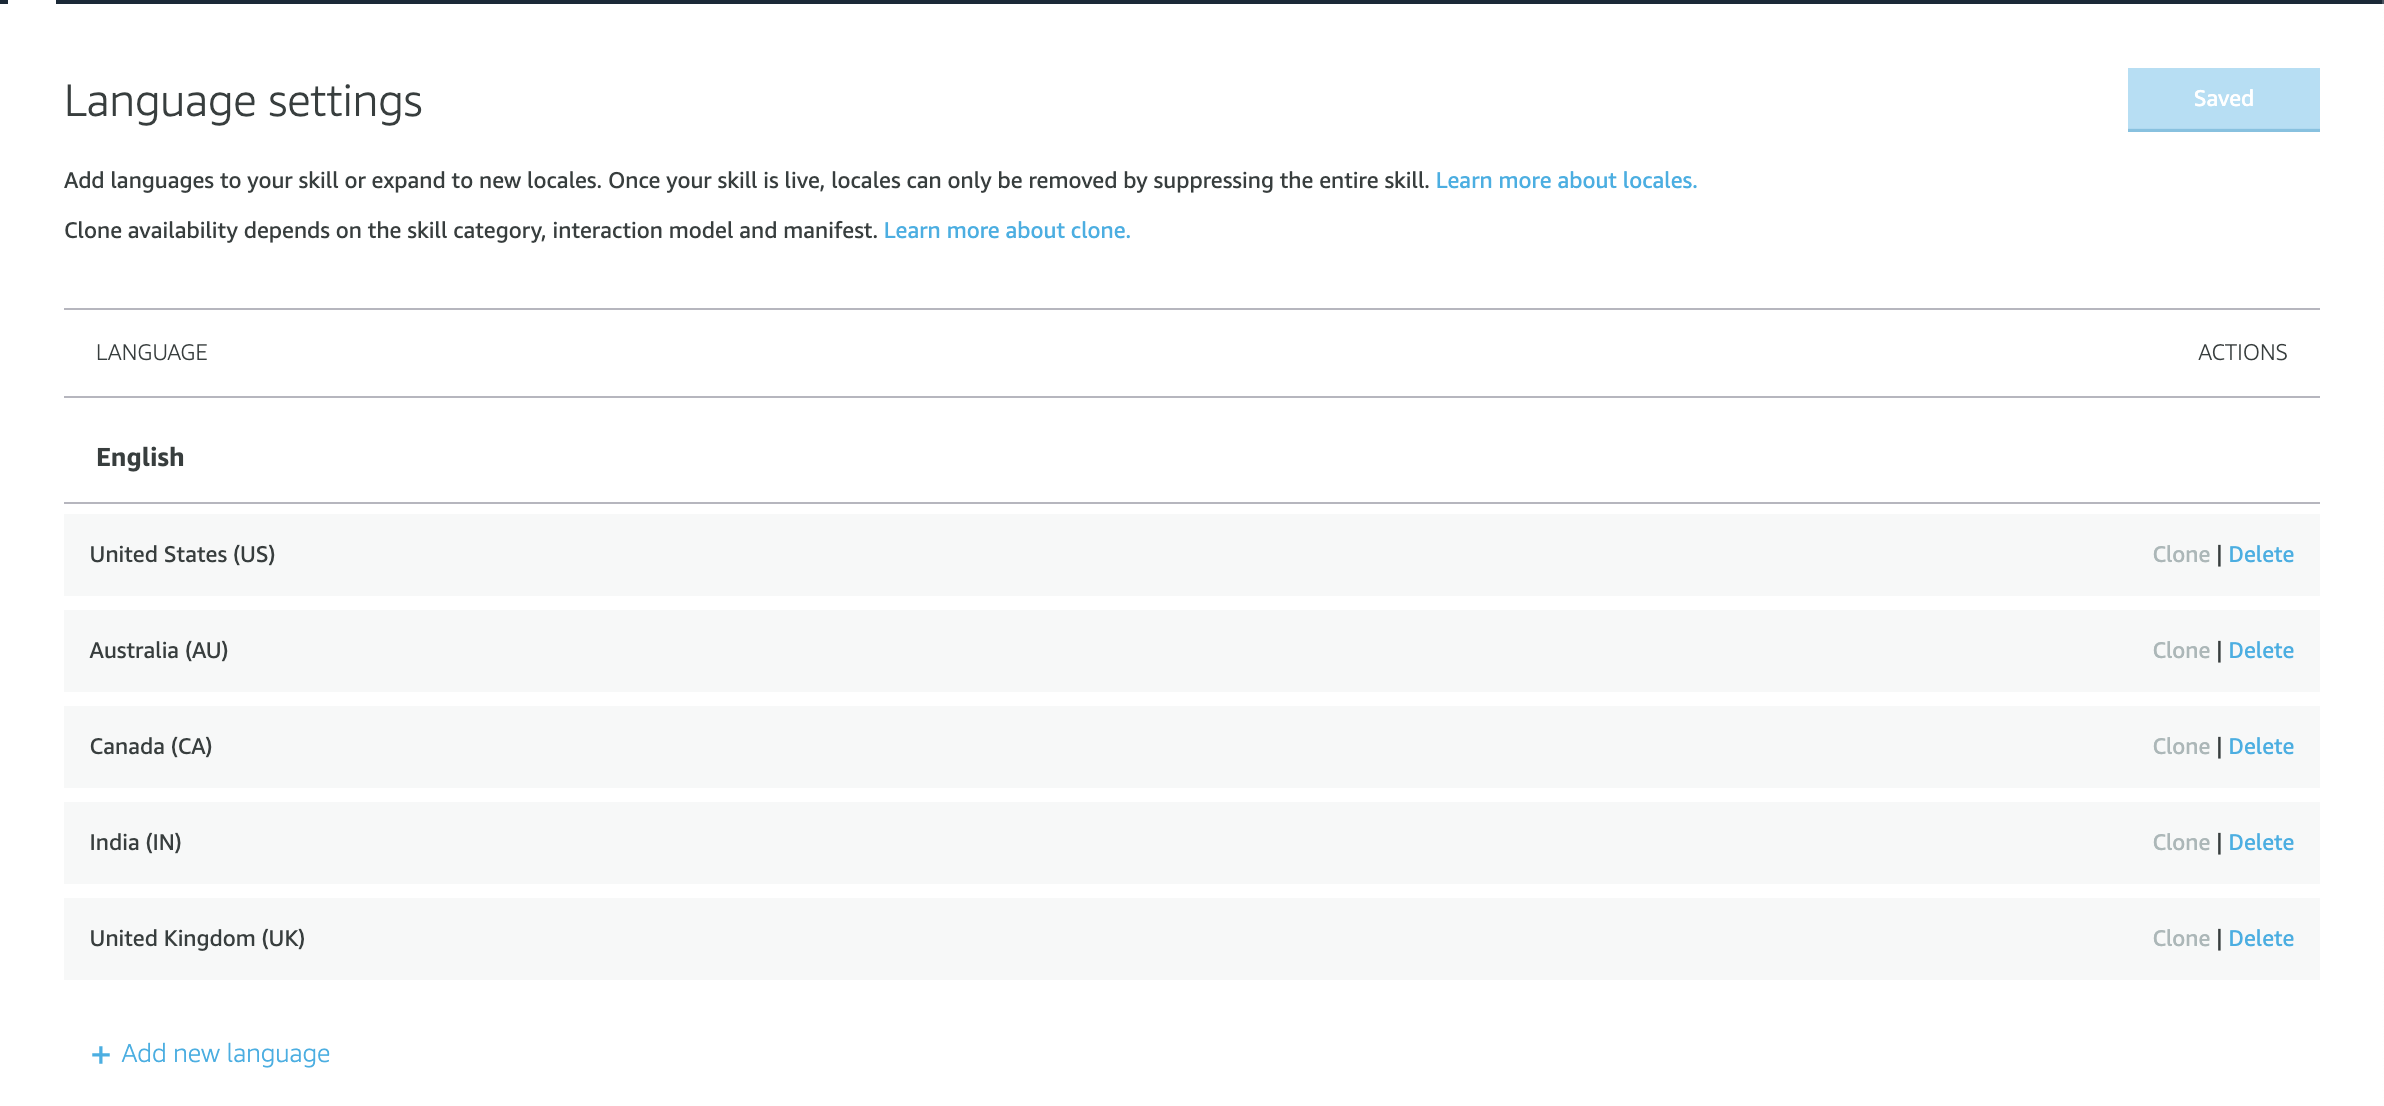
Locales
- Click on the language and locales drop down at the top of the left nav-bar.
- Add the languages and locales as per the target audience location of the skill.
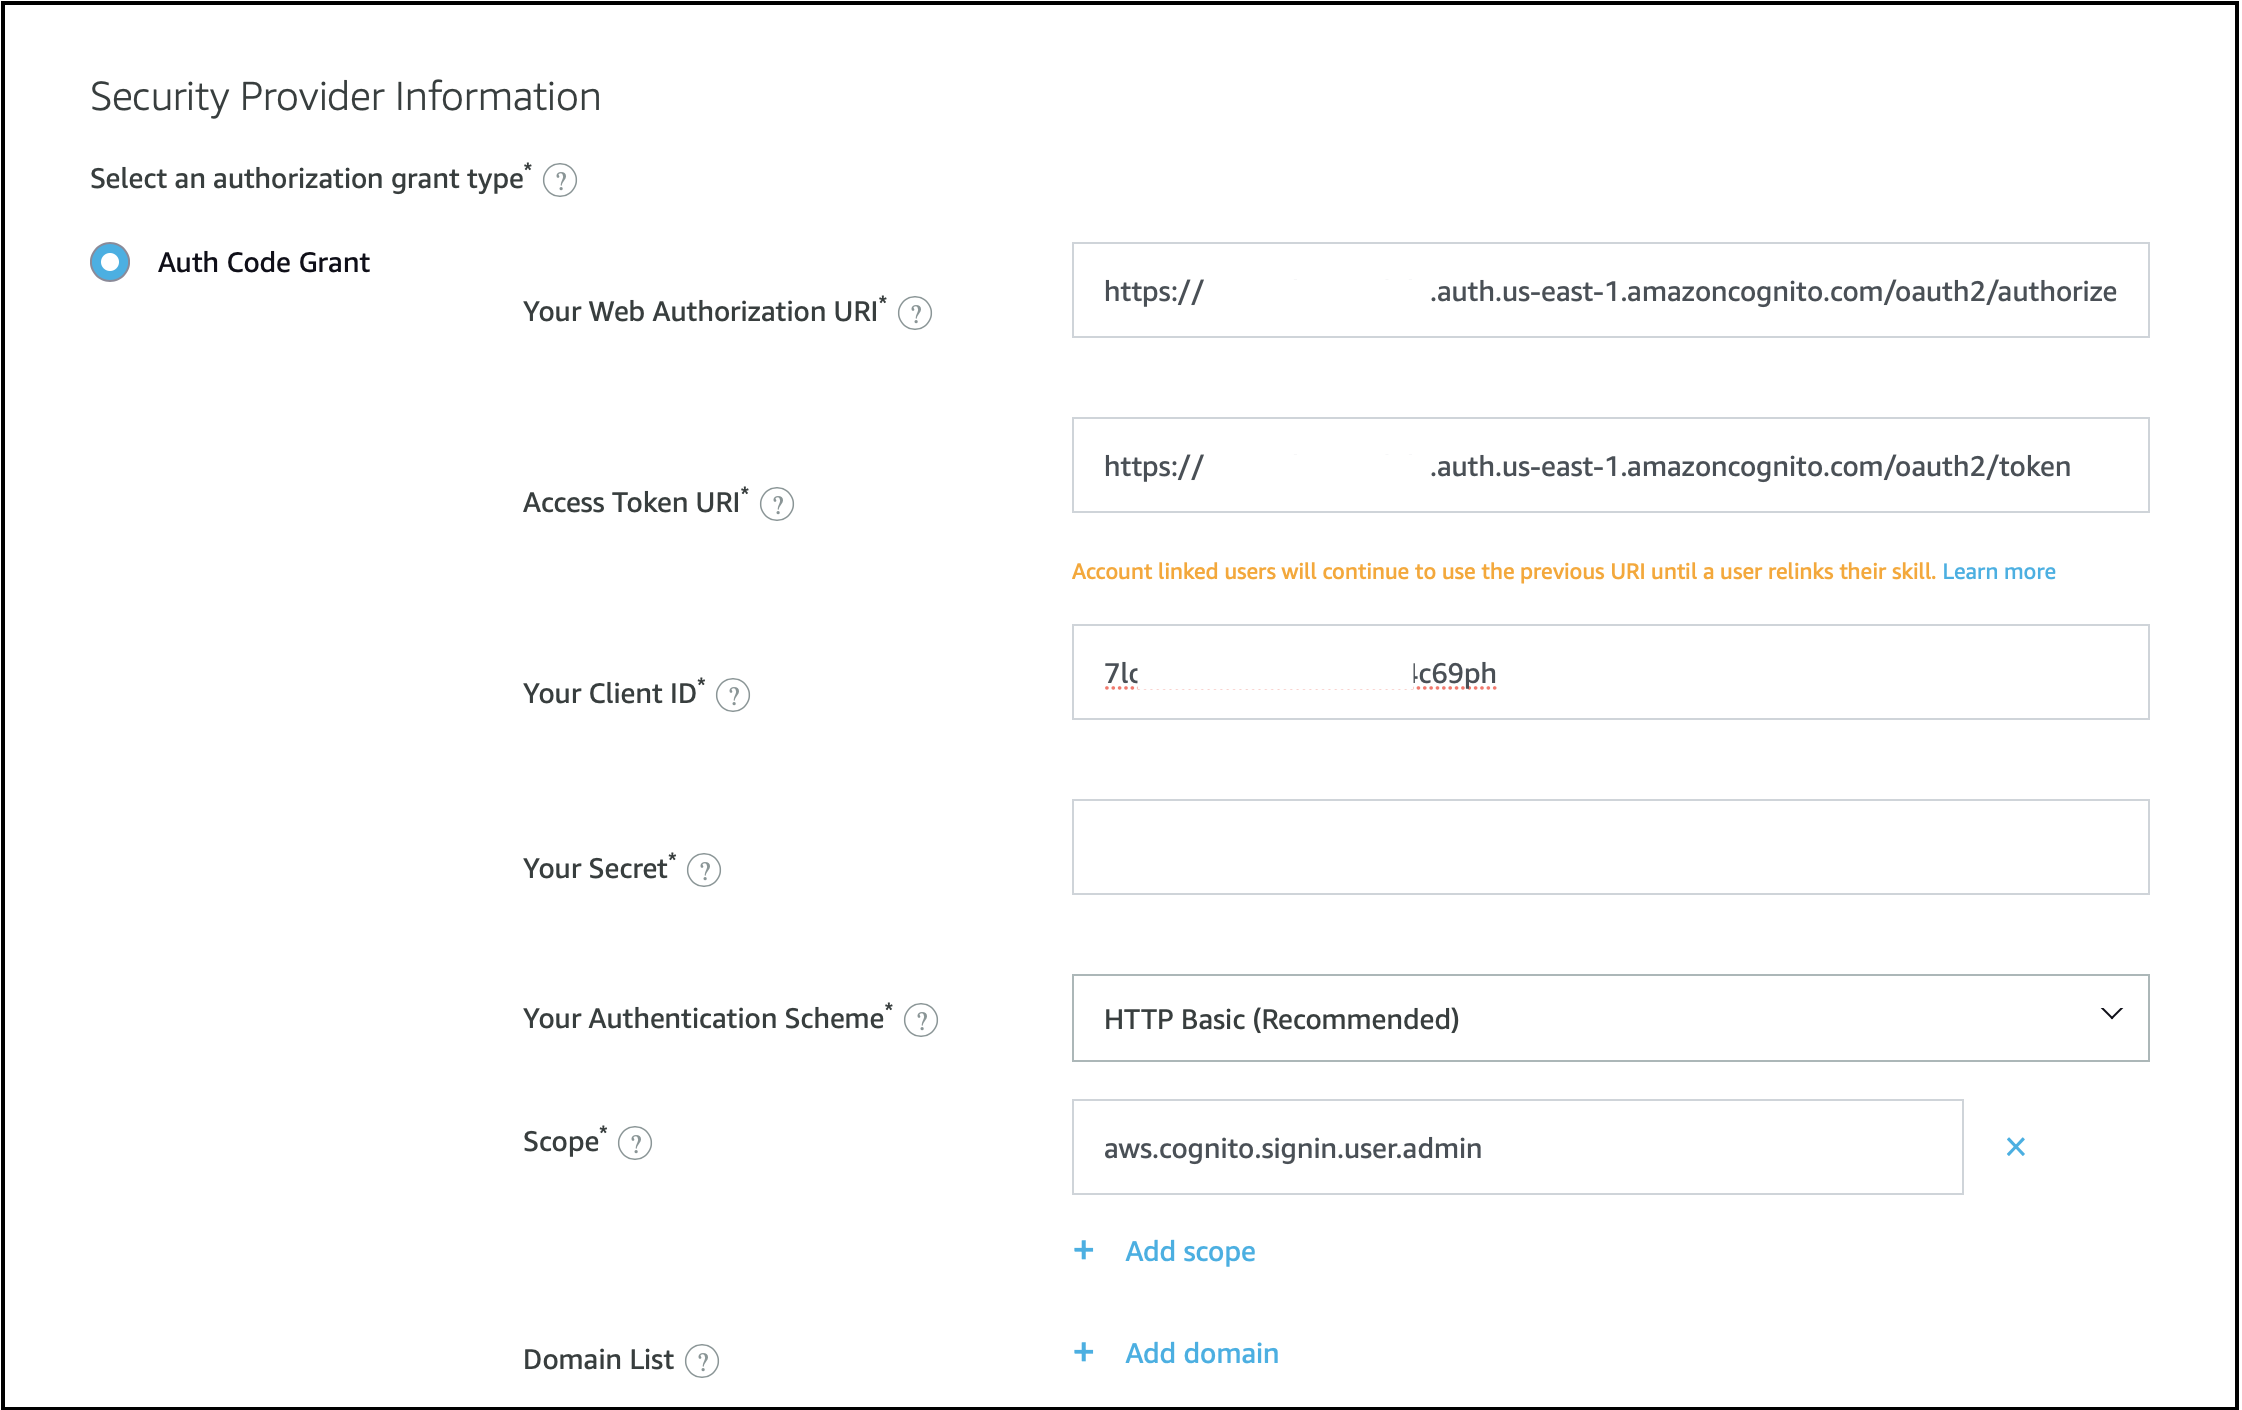
Account Linking
- Click on Account Linking in the left nav-bar.
- Add the following information to link RainMaker Authentication to Alexa.
Standard RainMaker
- The domain name from the section Creating the AWS Cognito App Clients for Alexa and Google Voice Assistant will be used to construct the Authentication URLs.
- Authorization URI: <domain-url>/oauth2/authorize
- Token URI: <domain-url>/oauth2/token
- Scope: aws.cognito.signin.user.admin
Oauth only RainMaker
- Authorization URI: Follow these steps to get the URL
- Token URI:
<HTTP API Endpoint>/token
- Add the client ID and client Secret from Alexa App client from the section Getting the Client ID and Client Secret for Alexa Skill and Google Action into the Client ID and Secret prompts and hit Save.
Enabling the Skill in Alexa Phone App
- Download the Amazon Alexa App from Playstore/ IOS Store.
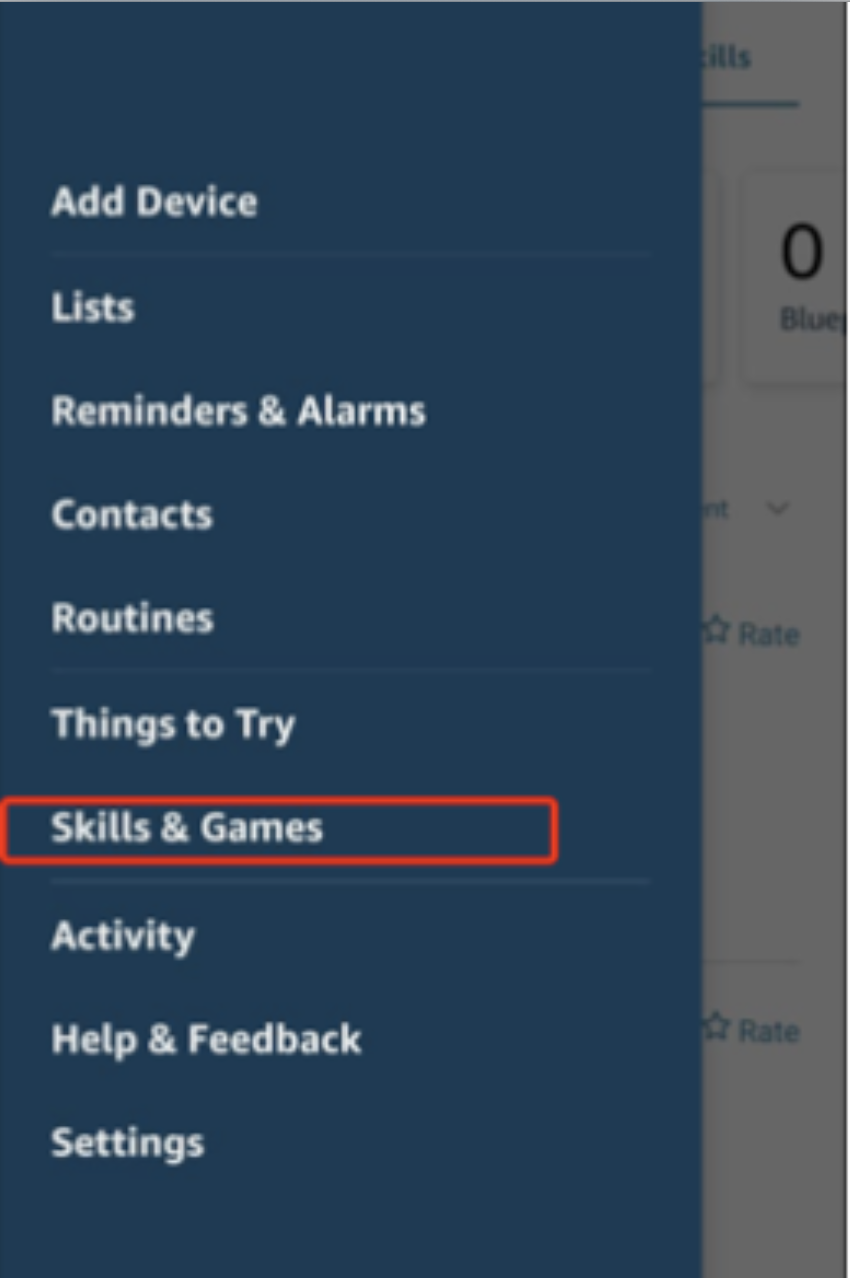
- Goto
Skills and Gamesin theSettingsorMoretab in the app.
Go to the
Your Skillstab and scroll the below list to the left and click onDev.Click on your skill in development and hit
ENABLE TO USE, you will be redirected to a RainMaker Login.
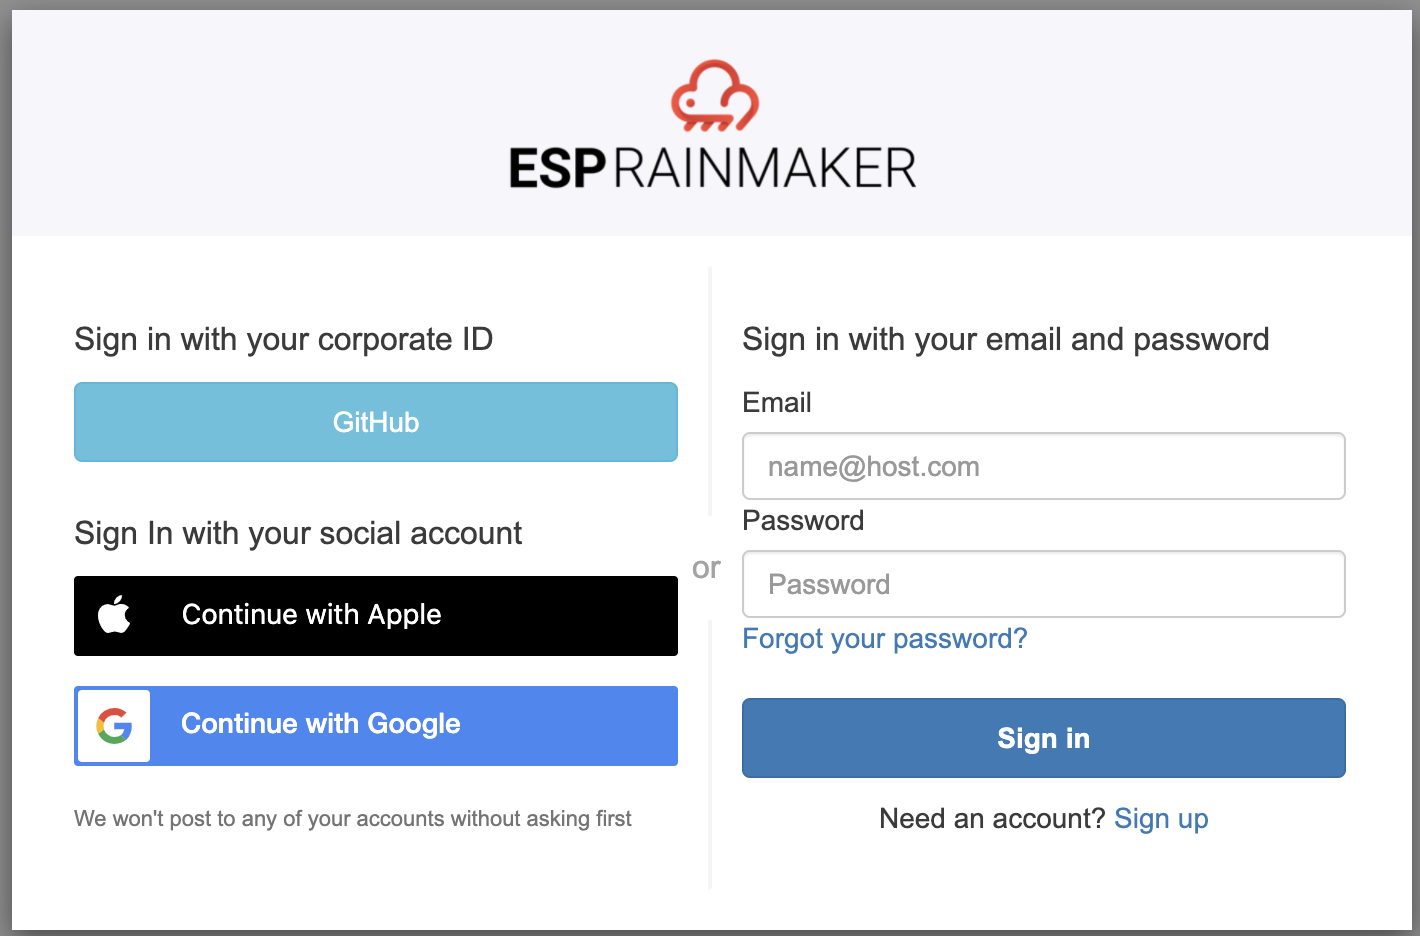
- Add the RainMaker phone app credentials and the devices in the RainMaker phone app will be discovered in the Alexa App.
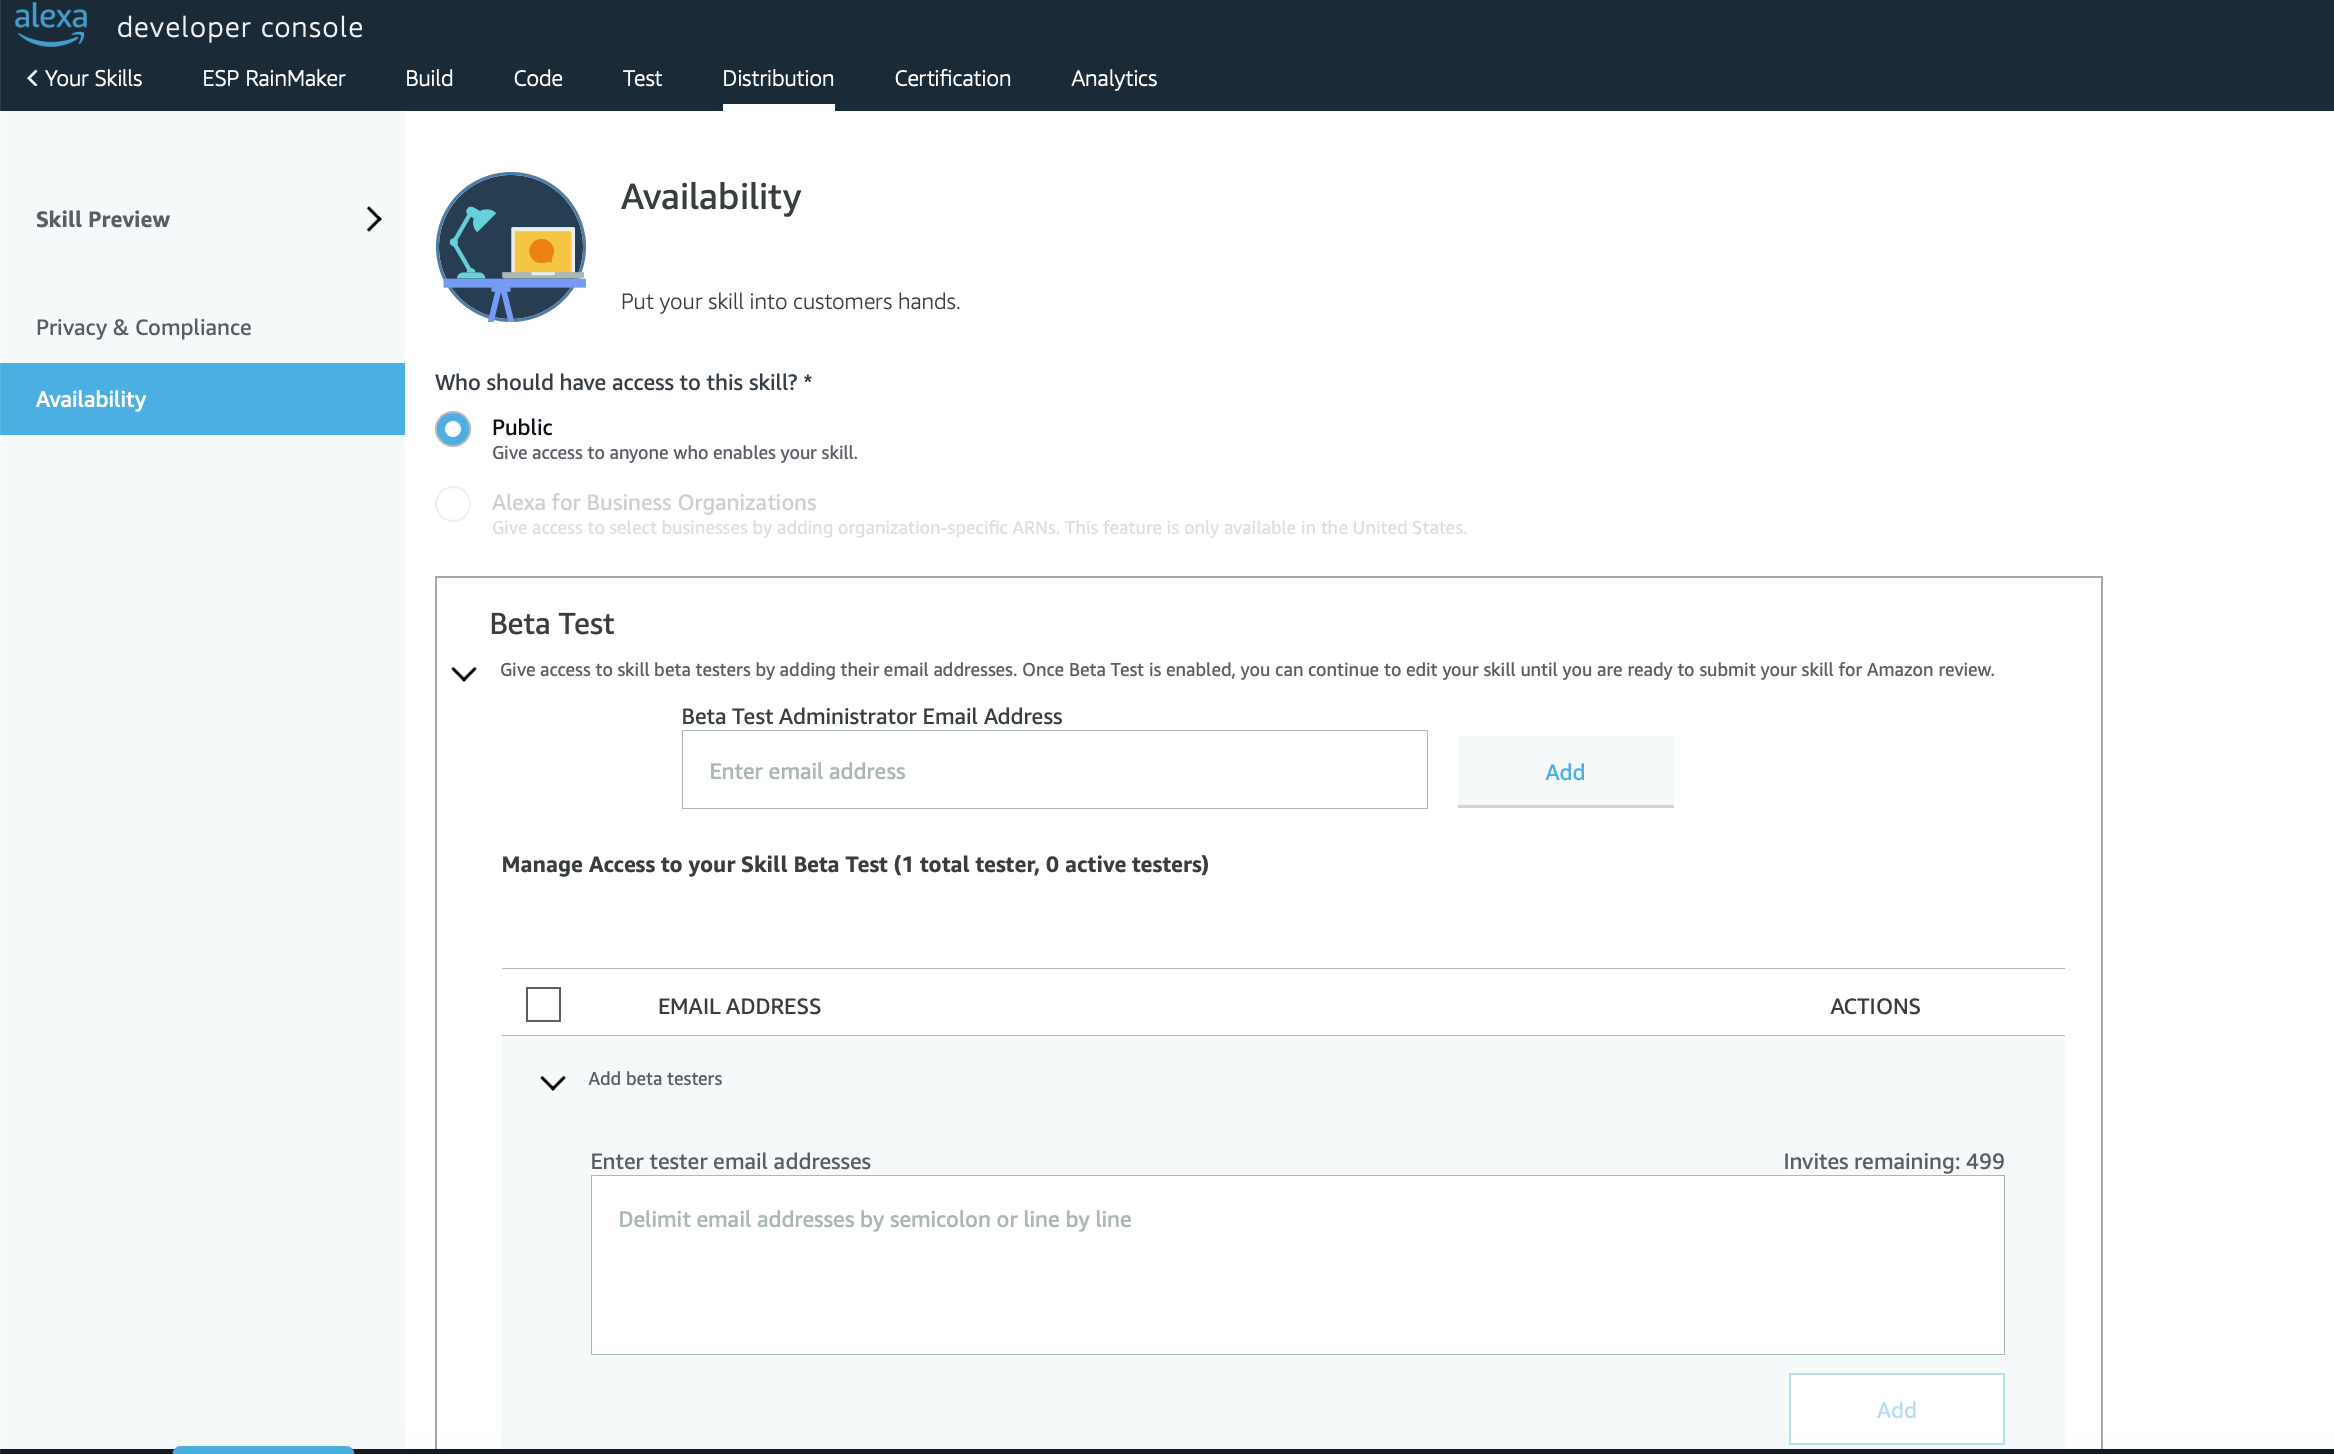
Beta Testing
- Click on
Distributionand complete the information for all language variants, then click on Availability. The Beta Test option would appear.