ESP RainMaker Customer Docs

ESP RainMaker Customer Docs

  • Get Started
  • Releases
  • Help

›RainMaker Cloud

Introduction

  • Introduction

RainMaker Cloud

  • RainMaker Cloud
  • Prerequisites
  • Pre-Deployment Setup
  • Setup
  • Backend
  • Node Registration Module
  • Frontend
  • Post-Deployment Setup
  • Verification
  • Licensing
  • Deployment settings
  • Add-on services
  • Push Notifications
  • Upgrades
  • Configurations
  • Uninstall

Phone Apps

  • Android Configuration
  • iOS Configuration
  • Notification payloads

CLIs

  • CLI

Firmware

  • Firmware

3rd Party Logins

  • Sign-in with Google
  • Sign-in with Apple

Integrations

  • Voice Assistant Integrations
  • Alexa
  • Google Assistant
  • Voice Assistant Integrations AddOns repo
  • Alexa Account Linking
  • Publishing Alexa skill
  • Publishing GVA action
  • Upgrades

Features

  • Features

Monitoring

  • RainMaker Monitoring Dashboard

References

  • References

Frontend

[中文版本]

The RainMaker frontend can be deployed only when all the backend modules are deployed successfully.

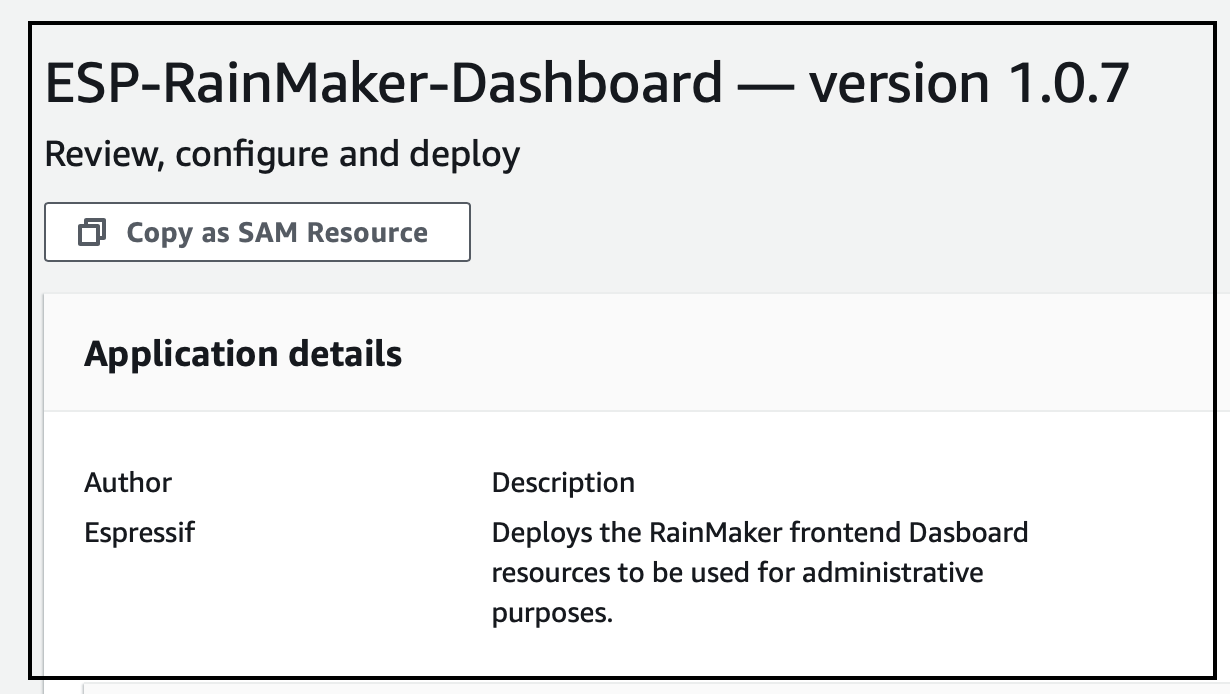
  • To trigger the deployment of the RainMaker frontend deployments, go to the SAR repository service dashboard. Go to available private applications and select ESP-RainMaker-Dashboard<\b>.

ui1

  • Scroll down and click the checkbox, I acknowledge that this app creates custom IAM roles and resource policies.

ui2

  • The deployment of the dashboard will start and the status will be shown in the AWS console.

ui3

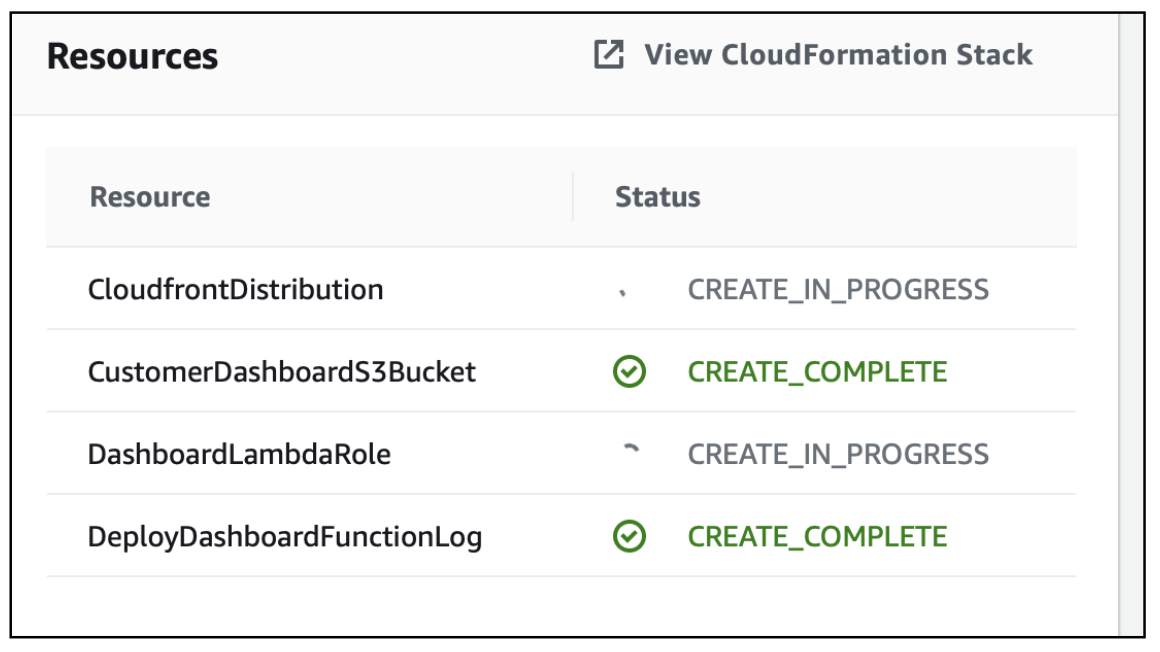
  • After all the modules of the dashboard are deployed, the status for all the modules will be shown as "CREATE_COMPLETE" and a message will be shown as below.

ui4

← Node Registration ModulePost-Deployment Setup →
Copyright © 2025 Espressif Systems